
Airless paint sprayers are special paint applicators that make use of a high-pressure mechanism to deliver paint particles onto the desired surfaces. Thanks to their emphasis on pressure instead of volume, airless paint sprayers can offer many advantages for users who choose to go with them.
For users who aren’t familiar with airless paint sprayers, getting the most of what they have to offer can be hard at first. Once the device has been mastered, it becomes much easier to get it to its fullest potential.
This is why we have provided this in-depth guide on how to use an airless paint sprayer for both new users and those just getting familiar with their devices to get the maximum satisfaction possible from their sprayer.
The anatomy of Airless Paint Sprayers
Airless paint sprayers are made of several parts and we’re not going into technical stuff that will be too hard to understand and probably you don’t even need to know, but simply put, all airless paint sprayers consist of a gun with a tip, a hose, and a pump.
1. The Gun: The gun serves as a control and delivery mechanism for regulating the amount of paint delivered.
2. The Tip: The airless paint sprayer tip serves as the final buffer which controls the size and amount of paint that will go onto the surface.
Tips are particularly important and we always suggest to do some research before choosing which one to use. They are available in varying sizes and shapes, and making the right decision as to the appropriate tip to employ for a particular task could go a long way in determining the efficiency of the project.
3. The Hose: The hose serves as a passage for the paint material from the container to the nozzle. High pressure gets paint through and out of the device.
4. The Pump: Pumps are generally found in two forms – the piston pump and the diaphragm pump1. The pump is the heart of the airless sprayer.
Piston pumps can produce higher pressures, are capable of delivering thicker paints, better atomize paint resulting in less spitting, and run only when needed.
On the other hand, diaphragm pumps are good for high volume transfer of fluids, are cheaper, but have a poor performance with higher viscosity fluids, run continuously, and are more difficult to prime.
Another important part of an airless paint sprayer is the valve. Valves are used to control the direction of the paint, and to ensure that it continues moving in a regular direction.
How to Start an Airless Paint Sprayer
Pressure Relief
Having the proper functioning of your airless paint sprayer is a process that begins before you even start the pump. Before the operation, the pressure relief process should be carried out to ensure proper de-pressurization.
1. Initiate the gun trigger lock.
2. Turn off the power switch. Double-check to make sure the switch is indeed turned off.
3. Change the pressure control gauge to its lowest setting.
4. Reverse stick and disengage trigger work.
5. Aim the gun firmly against the side of the waste bucket, and pull the trigger to initiate release.
6. Engage trigger lock.
Priming the Pump
Priming the pump is one of the most important procedures to follow in setting up your airless sprayer. Once the pressure release process has been completed, you should do the following:
1. Engage the trigger lock.
2. Disengage the tip and guard from the gun.
3. Insert the hose (for intake) into your paint bucket.
4. Insert the drain tube into a waste bucket.
5. Set the prime valve position to PRIME.
6. Switch on the pump.
7. Continue to increase the pressure valve until the pump starts.
8. Allow the paint to flow through the sprayer smoothly out into the drain tube.
9. Switch off the pump.
Priming the Hose and Gun
Now that the pump has been primed with paint, the next step of the set-up process is to prime the hose and gun, after which you would then be ready to begin spraying. Below are the steps to follow when priming your hose and gun.
1. Hold your gun firmly against your waste container.
2. Disengage the trigger lock and pull the trigger while still holding firmly.
3. Change the prime valve position from PRIME to SPRAY.
4. Switch on the pump.
5. Allow the pump to run until the paint starts to come out of the gun.
6. Switch off the pump and release the gun trigger.
7. Now, move the gun to the paint container.
8. Switch on the pump and pull the gun trigger.
9. Allow the pump to run for 20-30 seconds.
10. Disengage the trigger and allow the sprayer to build up more pressure.
11. Engage the trigger lock.
12. Assemble the tip onto the gun outlet and tighten it.
Spray Tests
Before you continue spraying the desired surface, you would want to test your sprayer and establish a regular spray pattern. You can make use of any appropriate waste material for this purpose.
Test sprays are highly important because they determine the general tone, pattern, and structure you’ll follow when doing the actual painting. They also help to detect runs and make the proper adjustments to course correct and achieve the perfect texture.
Here are the steps to follow for a proper spray test.
1. Switch pressure control valve to a medium level.
2. Hold the gun twelve inches from the surface of your test material.
3. Disengage the trigger lock and start spraying using your test pattern.
4. Pay special attention to discrepancies such as heavy or light edges.
5. Increase or decrease pressure gradually to address the problem until you achieve the desired pattern.
Airless paint sprayers are capable of really smooth finishes, and you should always aim for the perfect spray pattern.
Painting with an Airless Paint Sprayer
Now that the set-up process is done, you can begin to use your airless sprayer for the actual project. The set-up process may seem like a dull chore to some, and this is why the use of airless paint sprayers is not recommended for simple painting tasks that are not big in volume.
For larger tasks, however, you will soon find that the time taken to prime and start your sprayer is nothing compared to the smoothness, effectiveness, and amount of time the device will save you in the long run.
Listed below are some recommendations and tips on how to paint with an airless paint sprayer.
Tips and tricks on how to use an airless paint sprayer
1. Ensure you choose the best tip for the job. (more details below)
2. Plan and master your spraying patterns before you begin.
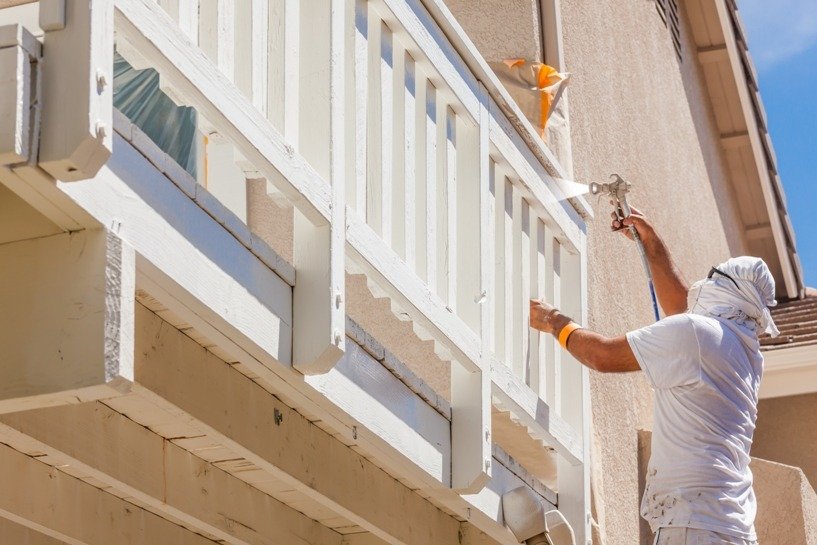
3. Start spraying the edges first.
4. Always hold the gun twelve inches from the surface.
5. It is advisable to follow a uniform pattern, such as spraying from top to bottom, right side to left side, or vice-versa.
6. Always move gun parallel and perpendicular to the surface, never titled or bent.
7. Move at a consistent speed, never too fast or too slow.
Spraying Techniques
1. Aiming and Movement
Knowing how to correctly aim and move your airless paint sprayer may be the difference between a mediocre and a professional finish in your project.
Proper aiming and movement can ensure even distribution on the surface, which in turn gives that smooth and professional feel to the job.
2. Pressure Adjustment
It is tempting to dial the pressure gauge to the maximum, and then spray on, thinking this will ensure maximum efficiency, but doing so would just not work.
The right way to go about it would be the exact opposite.
Turn down the pressure as low as possible without creating tails in the pattern, and slowly increase the pressure until you find the sweet spot.
This not only ensures a more consistent and smoother finish but also guards against oversprays and reduces wear on the device’s pump and outlet tips.
These techniques, though simple on the outside, are almost usually what differentiates an amateur from a pro.
Choosing the right Spray Tips
Choosing the correct spray tips for your airless paint sprayer is another task that goes a long way in determining the efficiency and smoothness of your outcome.
Since the tip regulates how much fluid leaves the gun, and in what size, the spectrum of outcomes that can get from adjustments between each level is far too important to ignore.
An important thing to consider when choosing the perfect tip size is to always go with an orifice size that is the most appropriate for the paint type that you will be working with. Lighter coatings require small tips, while heavy coatings require larger tip sizes.
Examples of light coatings compatible with smaller tips are lacquers, enamels, and stains, while an example of a heavy coating is elastomeric paint.
Thankfully, many paint manufacturers include recommendations on the containers as to the most appropriate spray tip for the product.
You can read more about choosing the right airless paint sprayer tips in my other article.
Maintaining an Airless Paint Sprayer
Proper maintenance of your airless sprayer is important not just for guaranteeing long-term performance, but also for the longevity of your sprayer.
Appropriate maintenance practices involve following recommended handling guidelines, performing consistent pressure relief procedures as outlined above, and going through regular cleaning of the device.
Other important activities required for proper maintenance include flushing away stagnant coatings, cleaning the pump, hose, and gun, and cleaning the filters, tips, and guard. Also, make sure your sprayer is stored in a clean, safe, and dry place.
Airless Paint Sprayer Safety Tips
Safety guidelines are always included in every airless paint sprayer manual, and it is up to the user to go through and review the instructions provided by the manufacturer. We always recommend reading thoroughly the user’s manual before using the airless sprayer.
While some products from certain manufacturers have their unique safety practices, there are a few universal guides all airless paint sprayer users are advised to follow. We’ve listed some of them below.
1. Always keep the trigger locked when the sprayer is not in use and follow pressure relief procedures frequently.
2. Never put your hand in front of the sprayer while it is switched on and pressurized.
3. Failing to follow point number 2 may cause paint particles to get beneath the skin, causing a major health hazard. If this happens, seek medical attention immediately.
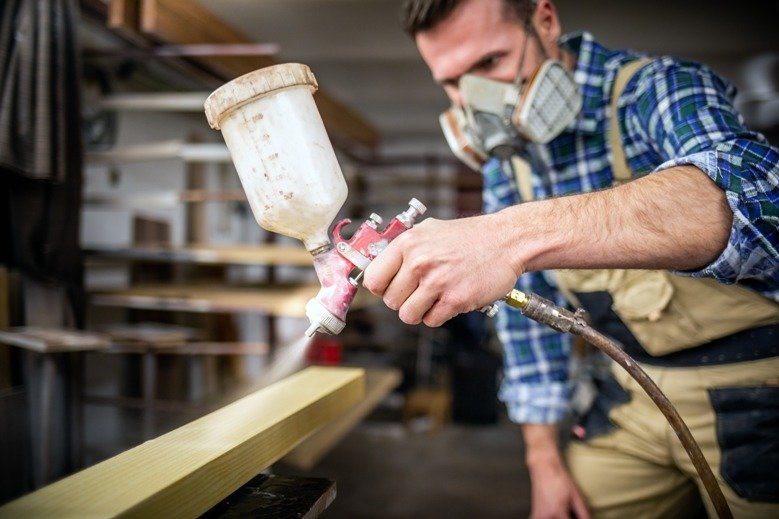
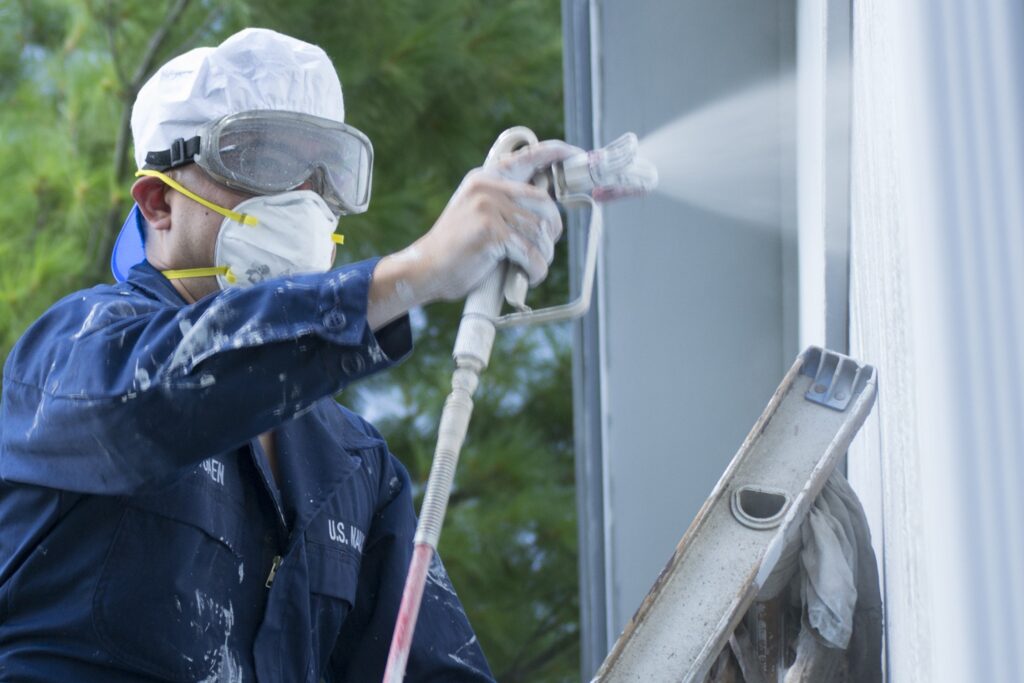
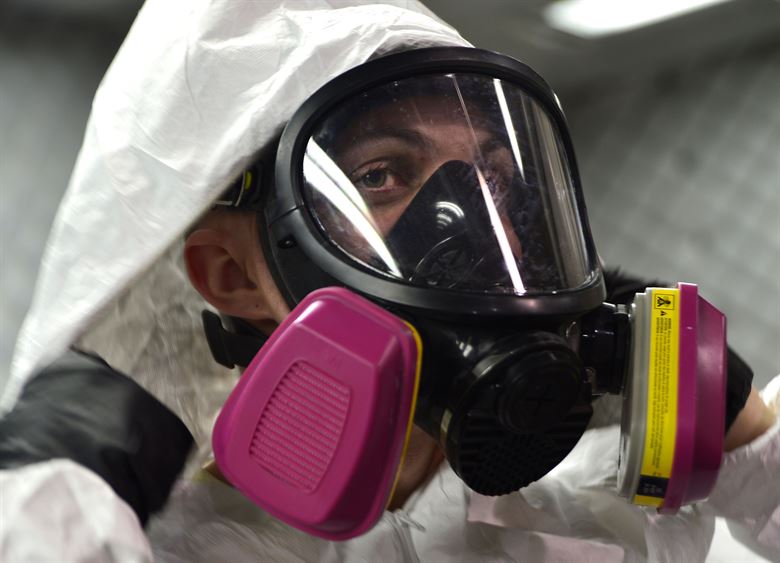
4. It is always advisable to wear safety glasses and respirators when working with an airless paint sprayer.
5. Painting in heated places or exposed electrical appliances is dangerous and should be avoided at all times. Smoking while painting should also be avoided.
Airless paint sprayer versus other alternatives
Airless paint sprayers remain one of the better alternatives out there when it comes to painting mid to large scale projects. Of course, crowning a definitive painting method is not easy because painting tasks differ from each other, as do their requirements.
Even though airless paint sprayers are far superior to other methods of painting, they do have their shortcomings.
Compared to brushes and rollers, airless paint sprayers are better in every aspect, but thanks to the tediousness of their prep time and maintenance, sometimes brushes and rollers are preferred for smaller tasks that don’t take up much time.
Compared to their air-assisted counterpart (HVLPs), airless sprayers are better in terms of speed, but not in terms of efficiency and for detailed painting. Check my other article if you want to learn more about the differences between airless and HVLP paint sprayers.
Conclusion
Thanks to their speed and efficiency, airless paint sprayers enjoy wide usage but require some practice to master them. However, in the last few years, we’ve seen more and more user-friendly airless paint sprayers being made than ever before.
Certain steps such as pressure relief and priming are important to get the device ready and may turn out to be more important than the painting process itself, so make sure to never skip them.
And while the whole process involved in making use of an airless paint sprayer may appear too tedious for some at first sight, in the end, the speed and the final result are so prominent that the extra time spent becomes worth it.
Safety precautions and proper maintenance are also highly important in getting the best of your device, so make sure to check the user’s manual before using an airless paint sprayer.